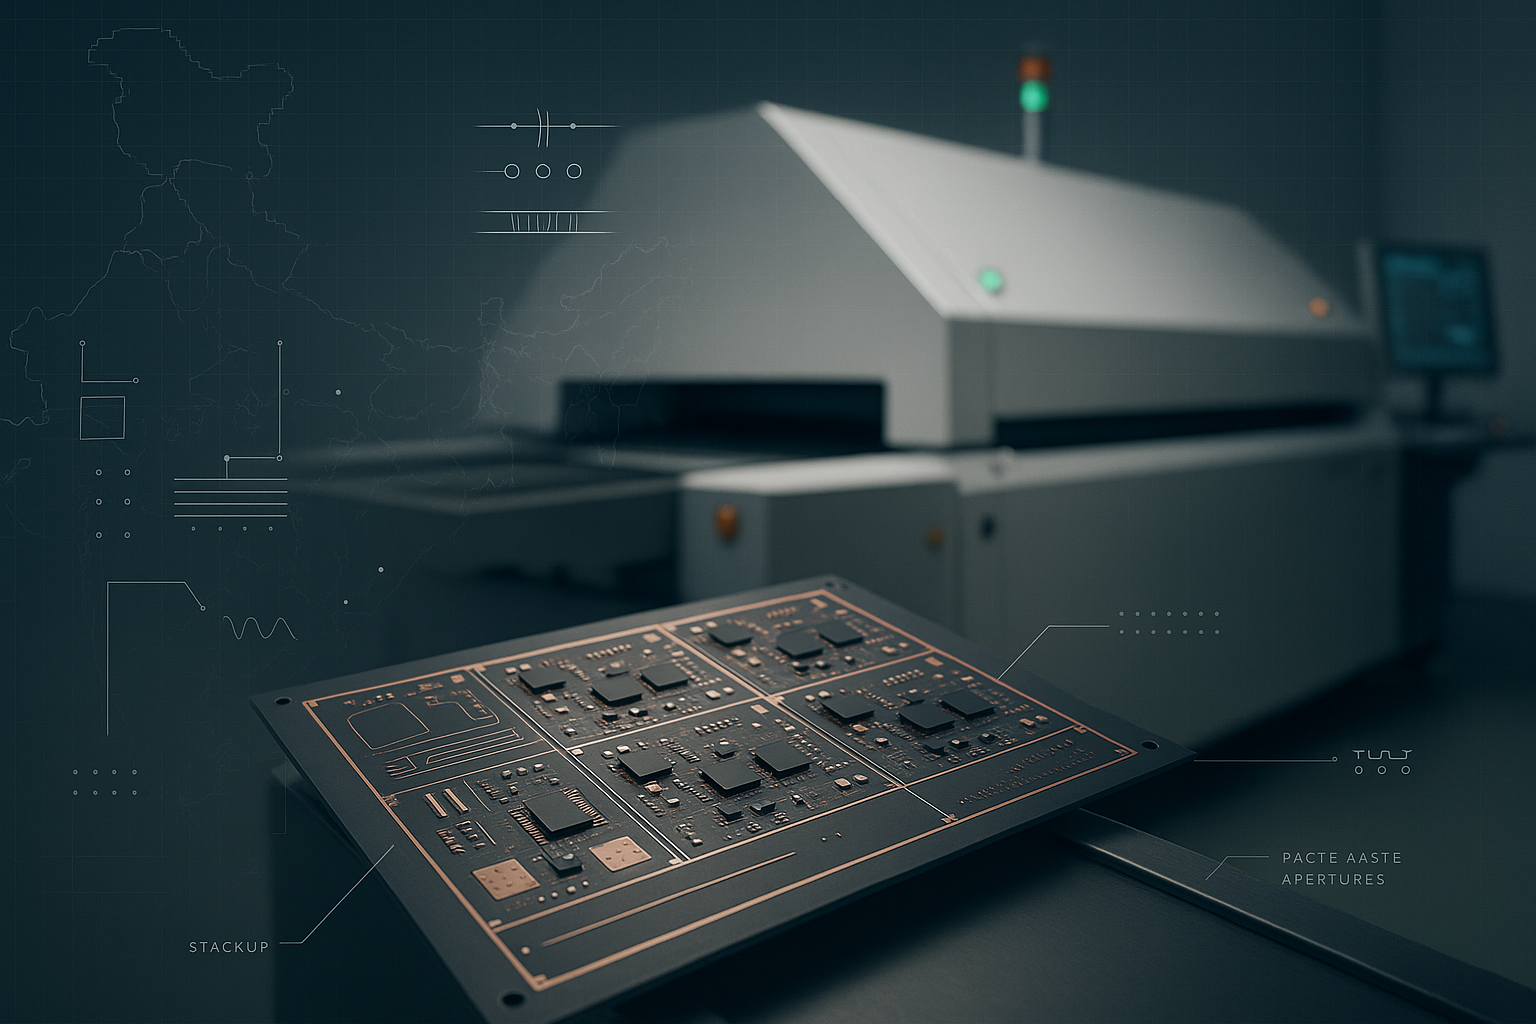
Electronic components are the building blocks of any electronic circuit. They are the fundamental units that are used to create and manipulate electric signals, and they can be combined in various ways to create a wide range of circuits with different functions.In this article, we will provide an overview of the different types of electronic components and their applications in circuit design.
There are three main categories of electronic components:
- Passive components
- Active components
- Electromechanical components
Passive components
Passive components are the simplest type of electronic component. They do not have the ability to amplify or generate an electric current, and they rely on the flow of current from an external source to perform their function. Examples of passive components include resistors, capacitors, and inductors.
Resistors:
Resistors are one of the most common passive components, and they are used to control the flow of electric current in a circuit. They are typically represented by a set of colored bands on their body, and the colors indicate the resistance value of the resistor. The resistance of a resistor is measured in ohms, and it determines how much the flow of current will be hindered by the resistor.
Capacitors:
Capacitors are another type of passive component, and they are used to store electric charge in a circuit. They are commonly used to smooth out fluctuations in the flow of current, and they can also be used to filter out certain frequencies in a signal. Capacitors are typically made up of two metal plates separated by a dielectric material, and the capacitance of a capacitor is measured in farads.
Inductors:
Inductors are passive components that are used to store energy in a magnetic field. They are commonly used in circuits to filter out high-frequency signals, and they are also used in power supplies to filter out unwanted noise. Inductors are typically made up of a coil of wire, and the inductance of an inductor is measured in henries.
Active components
Active components, on the other hand, are electronic components that have the ability to amplify or generate an electric current. Examples of active components include transistors, diodes, and operational amplifiers.
Transistors:
Transistors are active components that are commonly used as switches or amplifiers in circuits. They consist of three layers of semiconductor material, and by applying a voltage to the appropriate layer, the transistor can be used to control the flow of current in a circuit. Transistors are available in a variety of types, including bipolar transistors and field-effect transistors, and they are commonly used in a wide range of applications, from amplifying a small signal to switching high-power loads.
Diodes:
Diodes are active components that only allow current to flow in one direction. They are commonly used in circuits to protect against voltage spikes, and they are also used in rectifiers to convert alternating current (AC) to direct current (DC). Diodes are available in a variety of types, including signal diodes, rectifier diodes, and zener diodes, and they are commonly used in a wide range of applications, from power supplies to signal processing.
Operational amplifiers:
Operational amplifiers (op-amps) are active electronic components that are commonly used as amplifiers in circuits. They are designed to amplify a small input signal to a larger output signal, and they are used in a wide range of applications, from audio amplifiers to instrumentation amplifiers.
Operational amplifiers consist of a number of transistors and other components that are arranged in a specific configuration to provide a high-gain amplifier with a high input impedance and a low output impedance. This configuration allows the operational amplifier to amplify small signals without loading the circuit, and it also provides excellent linearity and bandwidth.
Operational amplifiers are available in a variety of types, including single-ended and differential amplifiers, and they are commonly used in a wide range of applications, from amplifying small signals to driving high-power loads.
Single-ended operational amplifiers are the most common type of operational amplifier, and they are used to amplify a single input signal. They consist of a single input stage and a single output stage, and they are typically used in applications where the input signal is small and the output signal is not required to be very large.
Differential operational amplifiers are a type of operational amplifier that is used to amplify the difference between two input signals. They consist of two input stages and a single output stage, and they are typically used in applications where the input signals are large and the output signal is required to be very large.
Operational amplifiers are commonly used in a wide range of applications, from audio amplifiers to instrumentation amplifiers. In audio amplifiers, operational amplifiers are used to amplify small audio signals to levels that can be heard through a speaker, and in instrumentation amplifiers, operational amplifiers are used to amplify small signals from sensors or other sources to levels that can be measured by a microprocessor or other device.
Operational amplifiers are also commonly used in feedback circuits, where the output of the operational amplifier is fed back to the input to control the gain or other characteristics of the amplifier. This allows the operational amplifier to perform a wide range of functions, from simple amplifiers to complex filters and oscillators.
Overall, operational amplifiers are versatile and widely-used active electronic components that are essential for many different circuits and applications.
Electromechanical components
Electromechanical components are electronic components that have both electrical and mechanical components. They are used in a wide range of applications, from simple switches to complex motors, and they are an essential part of many different electronic systems.
Examples of electromechanical components include motors, switches, and relays.
Motors:
Motors are electromechanical components that convert electrical energy into mechanical motion. They are commonly used in a variety of applications, from driving the blades of a fan to powering the wheels of a car. Motors are available in a variety of types, including DC motors, AC motors, and stepper motors, and they are commonly used in a wide range of applications, from small devices to large industrial machinery.
Switches:
Switches are electromechanical components that are used to control the flow of current in a circuit. They can be operated manually or automatically, and they are used in a wide range of applications, from controlling the power to a light bulb to selecting the gears in a car. Switches are available in a variety of types, including push-button switches, toggle switches, and rotary switches, and they are commonly used in a wide range of applications, from simple circuits to complex systems.
Relays:
Relays are electromechanical components that are used to control a circuit by using a small amount of current to operate a switch. They are commonly used in circuits to control high-power devices, such as motors or lights, and they are also used in computer systems to control the flow of data between different components. Relays are available in a variety of types, including electromagnetic relays and solid
We discussed the three main categories of electronic components: passive components, active components, and electromechanical components. Passive components, such as resistors, capacitors, and inductors, do not have the ability to amplify or generate an electric current, and they rely on the flow of current from an external source to perform their function. Active components, such as transistors, diodes, and operational amplifiers, have the ability to amplify or generate an electric current. Electromechanical components, such as motors, switches, and relays, have both electrical and mechanical components.
In conclusion, electronic components are the building blocks of electronic circuits, and they are essential for creating and manipulating electric signals. They are available in a wide range of types and sizes, and they can be combined in various ways to create circuits with different functions.
In addition to the electronic components discussed in this article, there are also integrated circuits, or ICs, which are circuits that are fabricated on a small piece of semiconductor material. ICs are commonly used in a wide range of applications, from microprocessors to memory chips, and they are an essential part of modern electronic systems.